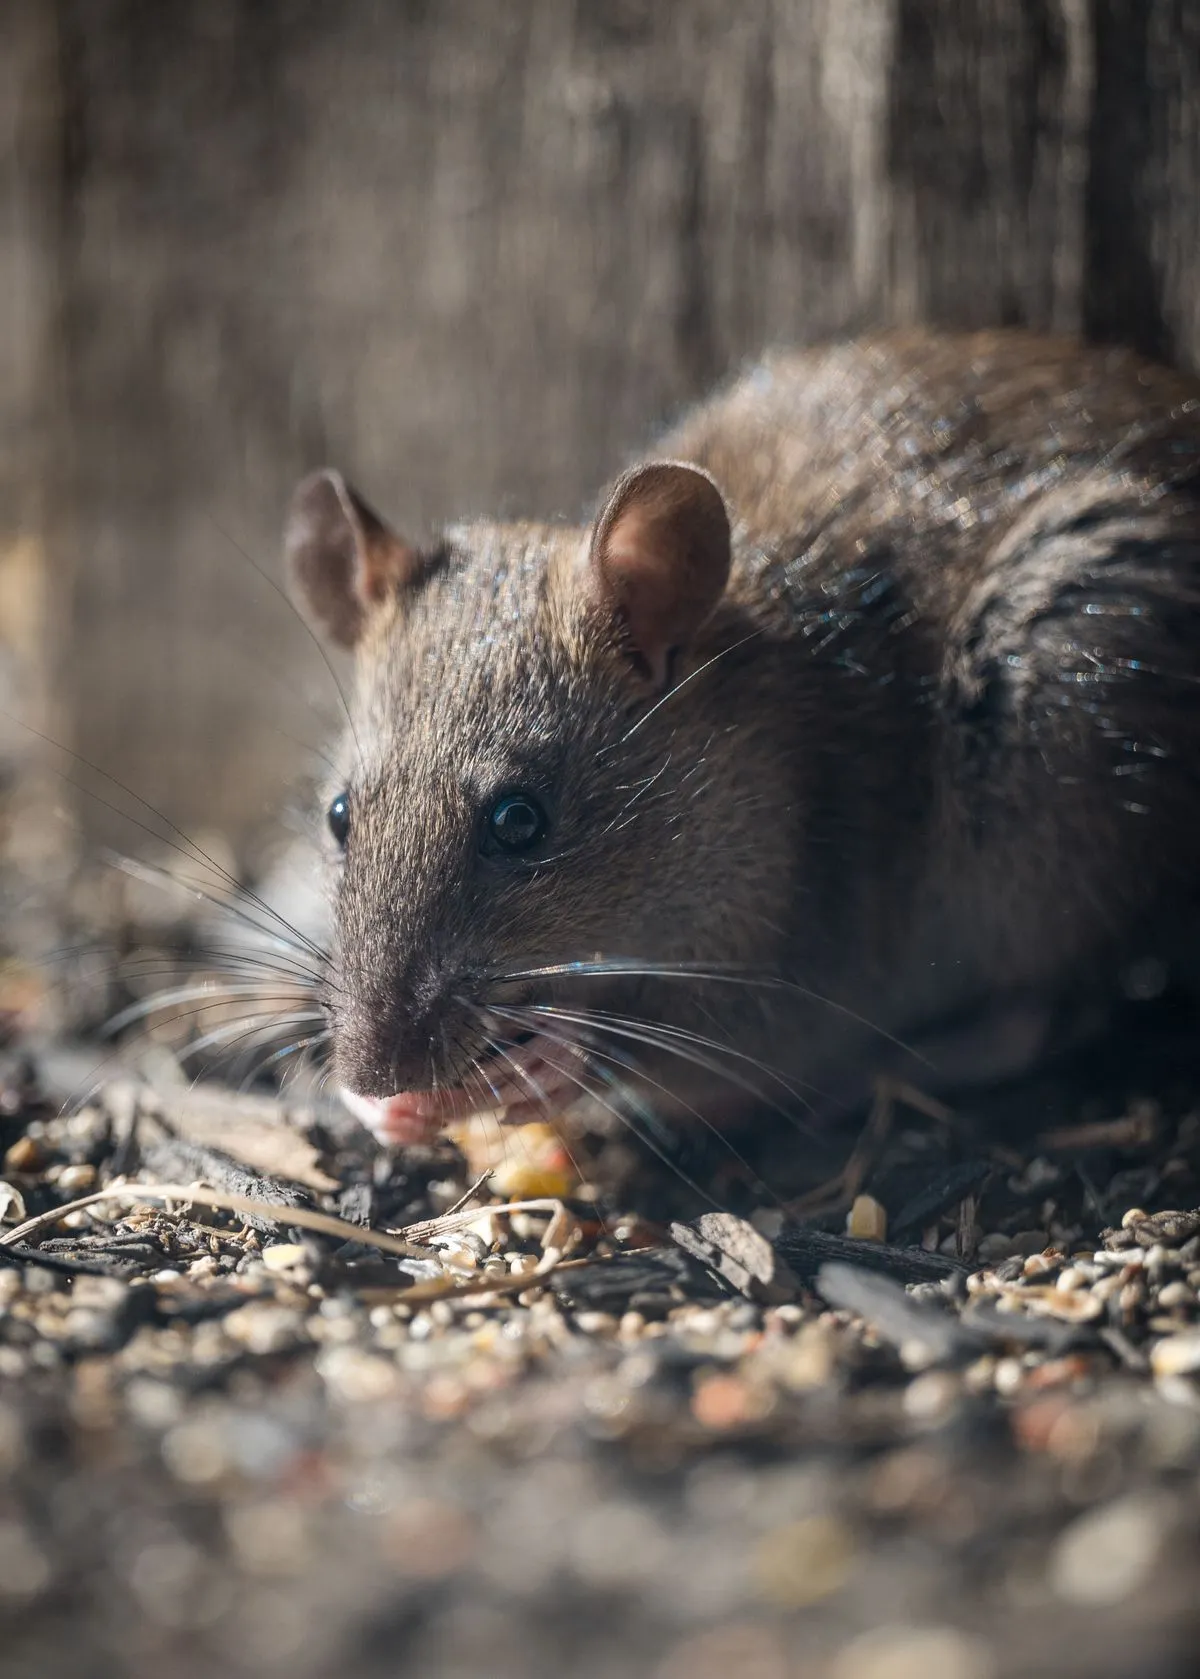

Rodent-proofing means closing useful access points with materials that rats and mice cannot easily chew or pull away. Remove active animals before closing every route. Sealing too early can trap a rodent inside a wall, attic, or living area.
Use this checklist in daylight and stay on the ground unless you have safe access equipment and training. Photograph high openings rather than climbing onto a roof.
Tools for a basic ground-level check
Gather a flashlight, phone camera, pencil, small ruler, gloves, and notepad. A pencil helps judge mouse-sized openings because a house mouse can enter a hole about 1/4 inch (6 millimeters) wide.
Useful repair materials depend on the surface:
- 1/4-inch metal hardware cloth for many vent and frame repairs
- sheet metal or flashing for edges exposed to gnawing
- mortar or concrete repair for solid masonry gaps
- copper mesh as backing in some small irregular openings
- fitted door sweeps and weather seals for moving doors
- exterior-grade sealant as a weather finish over a hard barrier
Do not count on soft foam, rubber, thin plastic screen, or loose filler as the only barrier.
1. Start with the garage door
Close the garage door during daylight and look from inside. Check the full bottom edge and both lower corners. Replace a flattened, torn, or curled sweep. Check the side seals and the point where the door meets the jamb.
Move pet food, bird seed, grass seed, and dry goods into hard containers with tight lids. Raise cardboard boxes off the floor or replace weak boxes with washable bins. A clear wall edge makes new droppings and gnaw marks easier to find.
Check the door from the garage into the home. The door should close fully and have a sound sweep or threshold. Inspect nearby pipe and cable openings that connect to kitchen or laundry walls.
2. Inspect utility lines and wall openings
Walk around the outside walls and find every water pipe, gas line, cable, solar conduit, air-conditioning line, dryer vent, and hose bib. Look for open rings around each line.
A repair must fit the surface and allow safe movement or service where needed. Use a hard rodent-resistant material as the main barrier. Add weather sealant only when it will not block drainage, ventilation, or required access.
Do not seal combustion vents, drainage paths, electrical equipment, or active utility parts without the right trade knowledge. Ask a qualified professional when the opening is part of a mechanical or safety system.
3. Check attic, gable, and roof vents
Look for torn mesh, loose corners, missing fasteners, corrosion, and gaps between the vent and frame. Use a phone zoom from the ground for upper vents. A dark opening or bent screen can justify a closer professional check.
Metal mesh must be secured to a sound frame. A loose patch laid over a vent can lift or leave an edge open. Keep the required airflow and use a material suited to heat, weather, and the vent design.
Coastal air can shorten the life of metal screen. Include vents in a yearly exterior check and after roof, solar, or attic work.
4. Review eaves, soffits, and roof joints
Stand back from the building and follow the roof edge. Look at soffit corners, fascia boards, eaves, and the places where a lower roof meets a taller wall. Signs include missing trim, soft wood, lifted material, daylight, or dark rub marks.
Roof rats can reach these areas from branches, palms, vines, fences, and block walls. Trim plants away from the building where safe pruning allows it. The University of California Integrated Pest Management rat guide recommends keeping dense plant canopies separated from buildings by 2 feet (0.6 meters) or more.
Leave roof and high ladder repairs to trained workers. Tile can break, flashing can hide openings, and roof edges can be unsafe even when they look dry.
5. Examine crawlspace and foundation areas
Check crawlspace vent screens for tears, rust, and loose frames. Look for foundation gaps, open access doors, pipe openings, and disturbed soil. A ground burrow close to the building can point to Norway rat activity.
Do not enter a tight crawlspace without safe access, lighting, and protective equipment. Photograph the outside condition and note any odor, waste, or sound near the opening.
Foundation repairs must preserve drainage and ventilation. Do not fill designed openings, weep paths, or vents just because they look large enough for a rodent.
6. Inspect the kitchen and laundry room
Open the cabinet below each sink and check where pipes pass through the wall. Look behind movable appliances only when they can be shifted safely. Check cabinet toe-kicks, floor edges, dryer vents, and utility chases.
Discard food in paper, cardboard, or thin plastic when the package has gnawing, holes, droppings, or urine marks. Store replacement food in glass, metal, or hard plastic containers with tight lids.
Repair water leaks and clean crumbs or grease from hidden edges. Sanitation does not remove an infestation by itself, but it makes the area less useful and improves monitoring.
7. Reset storage rooms and side yards
Move stored items away from the wall when possible. Keep a narrow inspection path around the room. Replace damaged cardboard and discard nesting material by following safe cleanup guidance.
Outside, thin dense ivy and ground cover beside the building. Keep trash lids closed. Raise firewood and stored materials off the soil and away from the wall. Check sheds, decks, and outdoor cabinets for burrows or gnawing.
Pick ripe fruit and remove fallen fruit. Bring pet food and bowls inside at night when practical. Repair dripping faucets and irrigation leaks.
8. Recheck after repairs
Photograph each opening before and after the repair. Mark the date and material. Recheck the area after weather, roof work, utility service, solar installation, or remodeling.
Monitor the inside for fresh droppings, sounds, tracks, and food damage. A repair has not solved the whole problem when current animals remain inside. Continue the removal plan until the active area stays clear through the agreed monitoring period.
Safe cleanup comes before close inspection
Do not sweep or vacuum dry rodent waste. The Centers for Disease Control and Prevention cleanup guide says to wear gloves, wet urine and droppings with disinfectant, wait for the proper contact time, and wipe the material up.
Heavy contamination, widespread attic waste, damaged insulation, or tight enclosed spaces need added precautions. Request trained help when the work is beyond a small hard-surface cleanup.
Final rodent-proofing checklist
- Garage door closes without daylight at the bottom or corners
- Utility lines have fitted, rodent-resistant closures
- Vents have secure metal screen without tears or loose edges
- Eaves, soffits, fascia, and roof joints show no open gaps
- Crawlspace and foundation screens remain sound
- Food, seed, and pet supplies sit in hard closed containers
- Leaks, fallen fruit, open trash, and dense wall-side cover are reduced
- Every repair is photographed and included in future checks
The CDC sealing guide provides a national checklist for indoor and outdoor gaps. Combine that guidance with the exact building materials, ventilation needs, and active evidence at your property.
- #rodent proofing
- #entry points
- #home checklist
- #exclusion materials